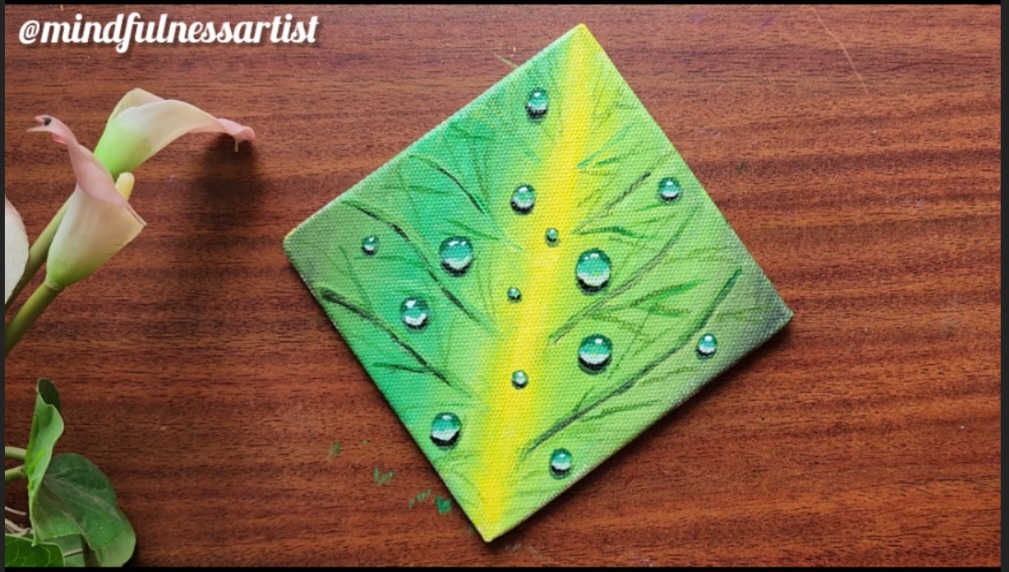
There’s nothing quite like the sight of fresh morning dew on a leaf, sparkling with the first rays of sunlight. In this tutorial, we’ll capture that serene and delicate beauty on a mini canvas using a simple yet effective technique that combines texture and color blending. Let’s get started!
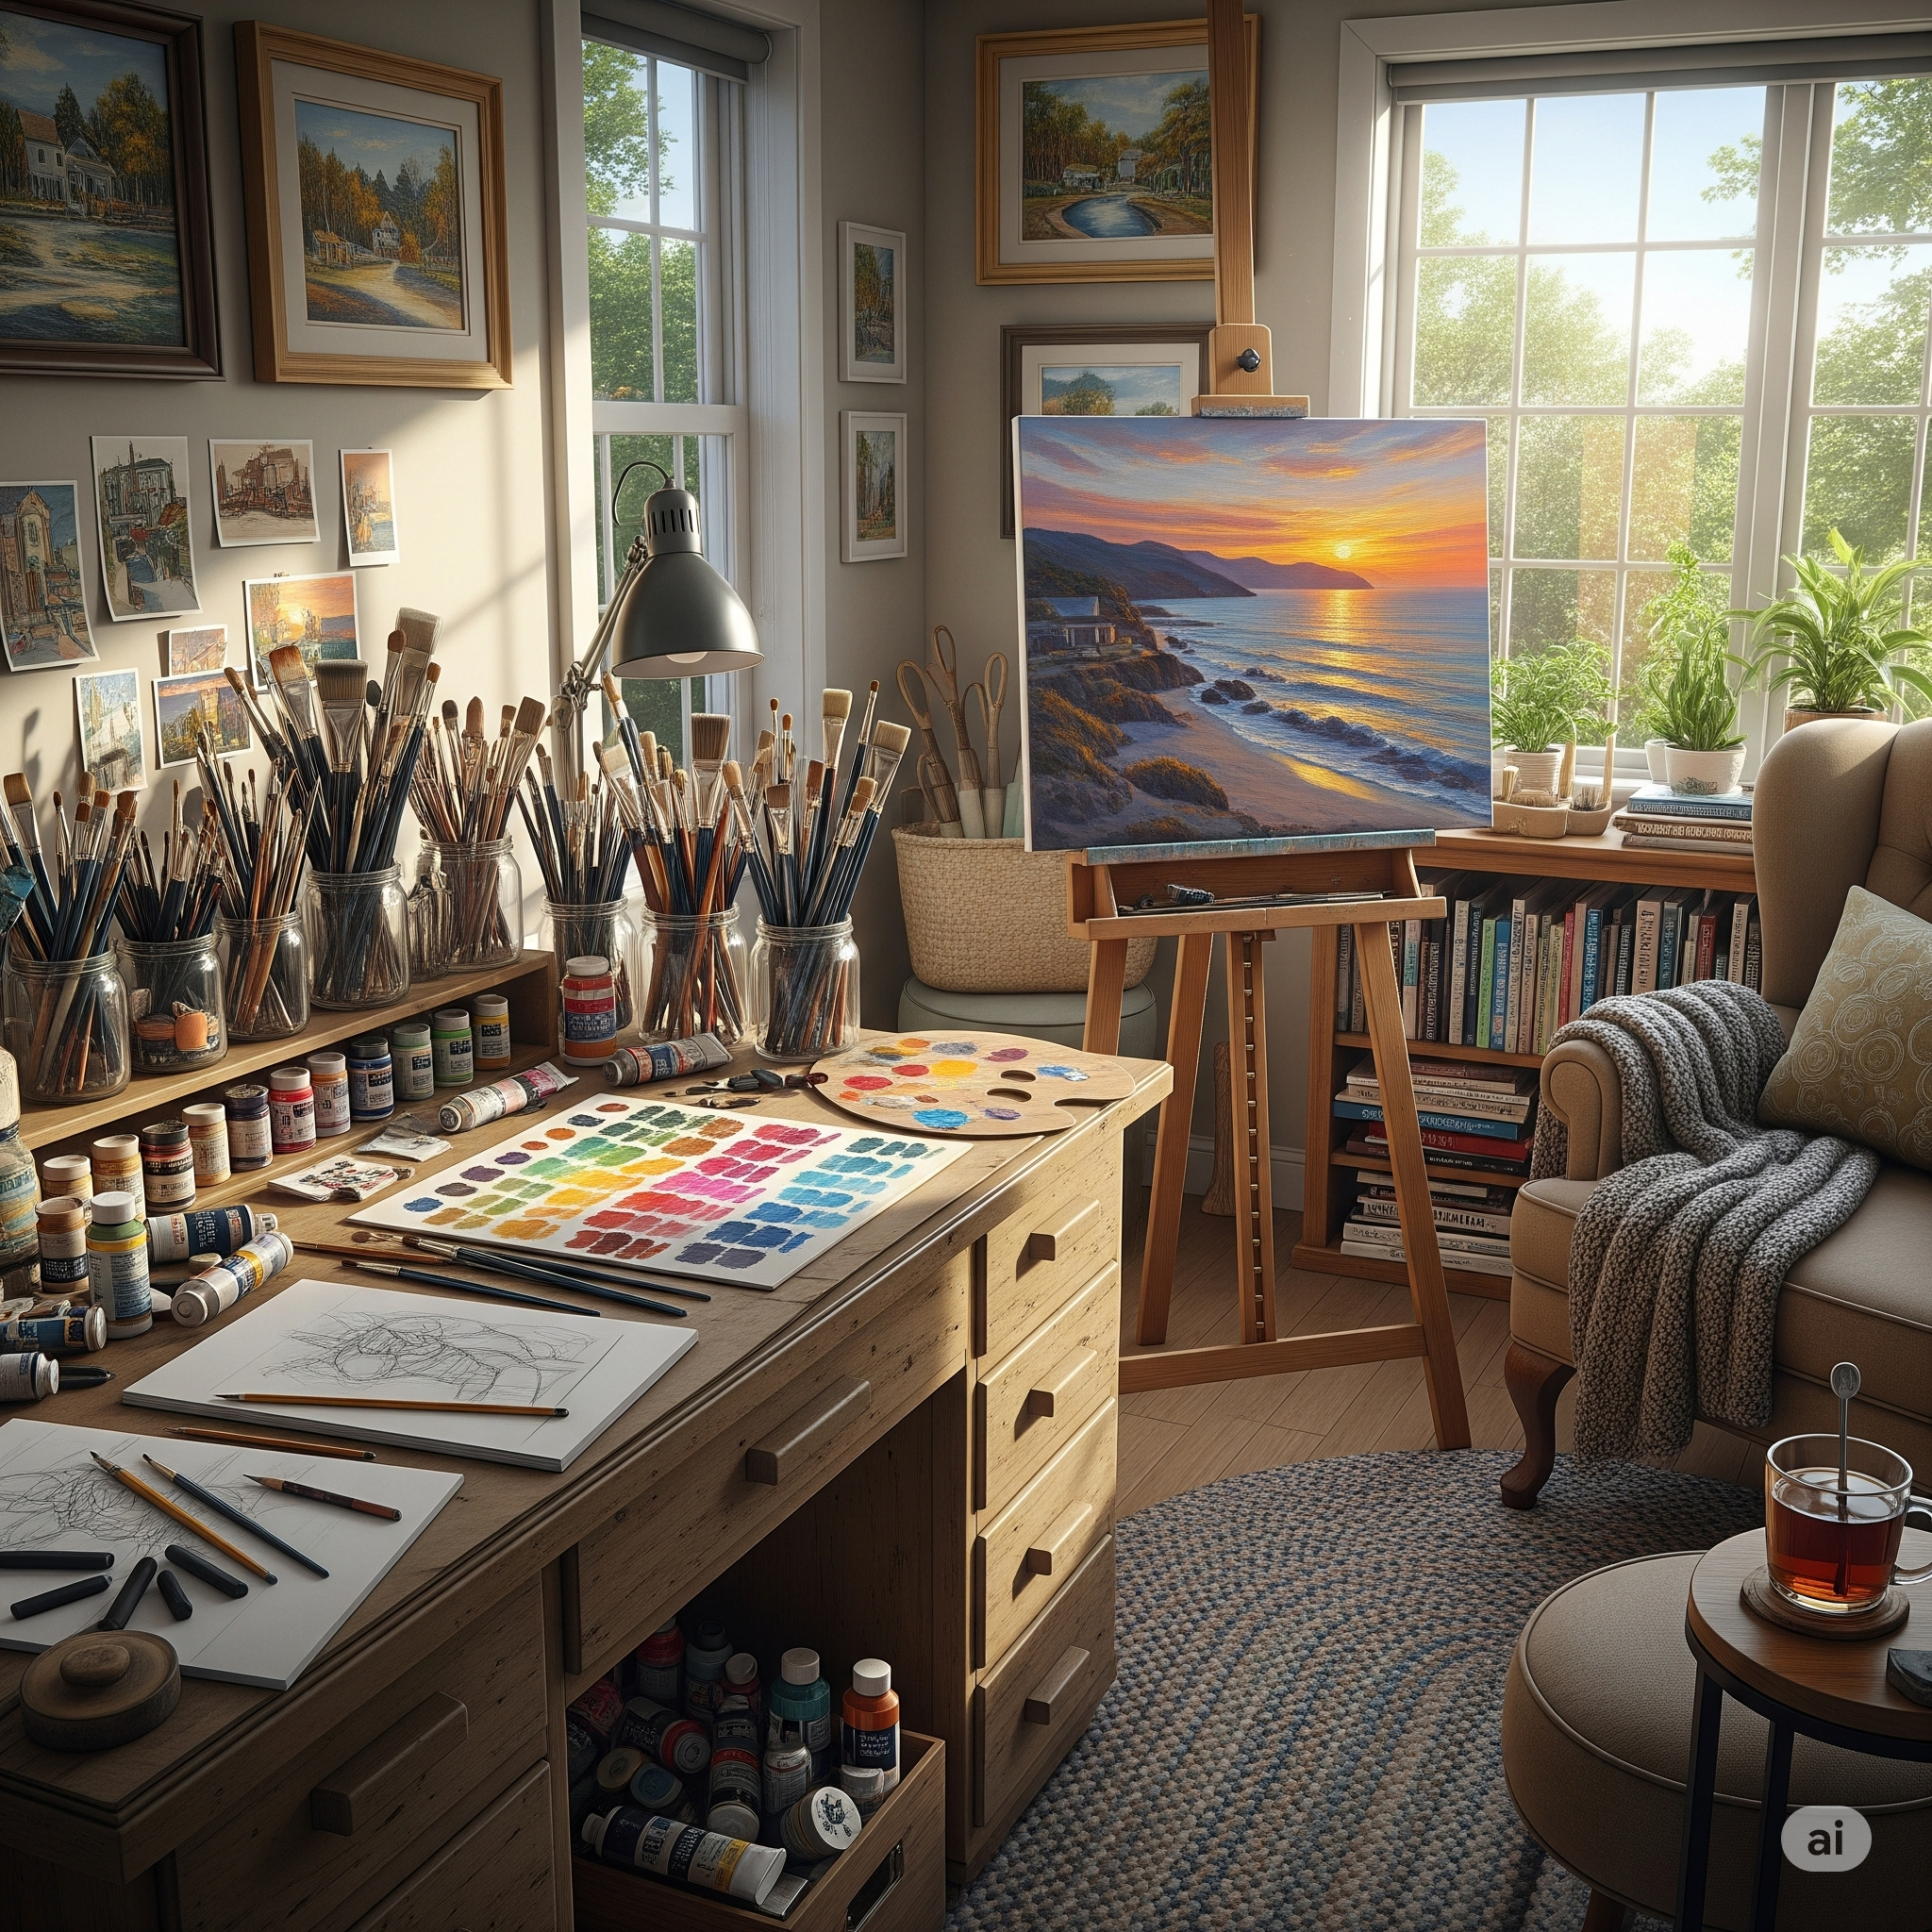
🧰 Materials You’ll Need:
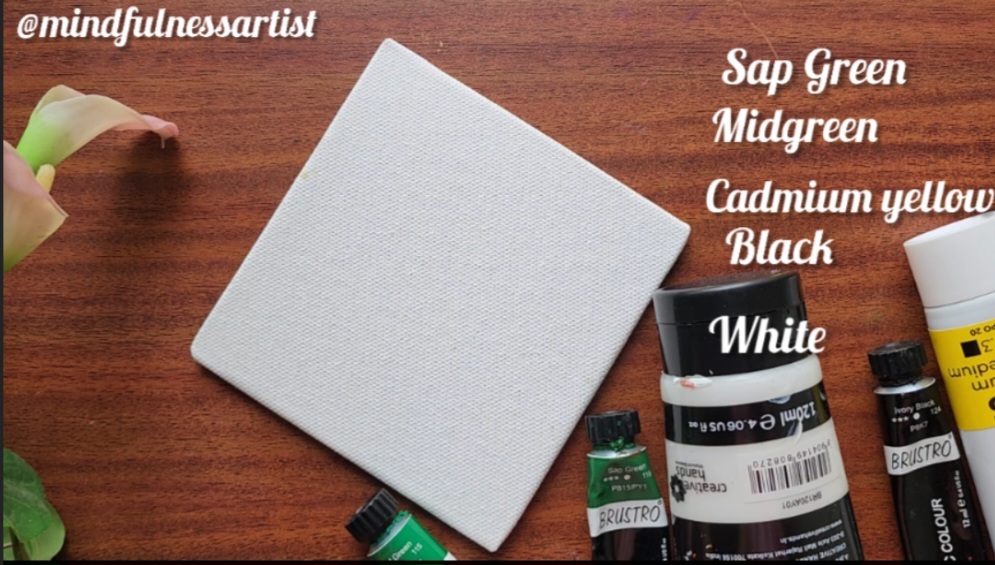
- Canvas: A mini canvas, acrylic sheet, or any canvas board.
- Paints: Sap Green, Mid Green, Cadmium Yellow, Black, and White acrylic paints.
- Brushes: A flat brush and a round brush.
- Tools: A palette knife and a sponge.
Step 1: Preparing a Textured Background
We’ll begin by creating a textured base that mimics the surface of a natural leaf.
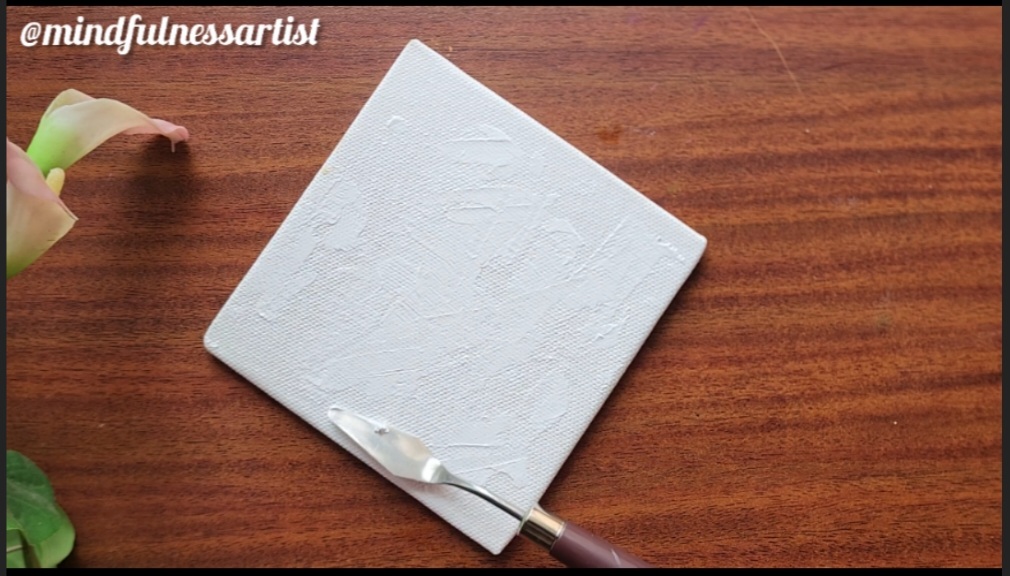
- Squeeze a few drops of white acrylic paint directly onto your canvas.
- Use a palette knife to spread the paint evenly across the surface. This provides a soft undercoat and helps with the blending later.
- Now for the fun part: gently dab a sponge over the wet paint. This creates a natural, uneven texture that will make our leaf surface look more realistic.
Step 2: Laying Down the Base Colors
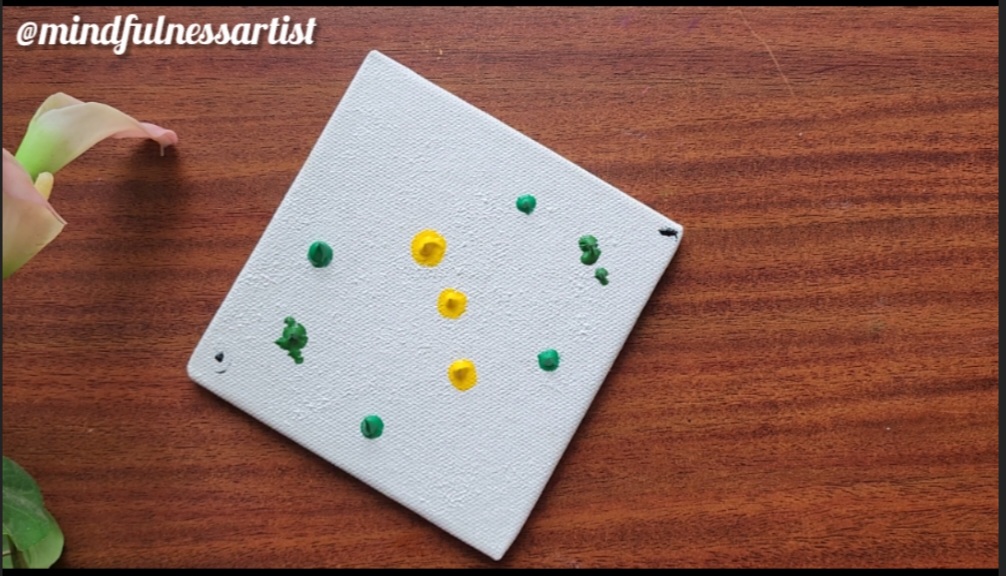
Now, let’s add the core colors of our leaf, working from the outer corners inward.
- Using a flat brush, add a pinch of black to two outer corners of the canvas to create a sense of depth and shadow.
- Next, blend in Sap Green, followed by Mid Green, moving gradually toward the center of the canvas.
- Finally, apply Cadmium Yellow in the center to represent a highlight where light hits the leaf.
Step 3: Blending for a Soft Gradient
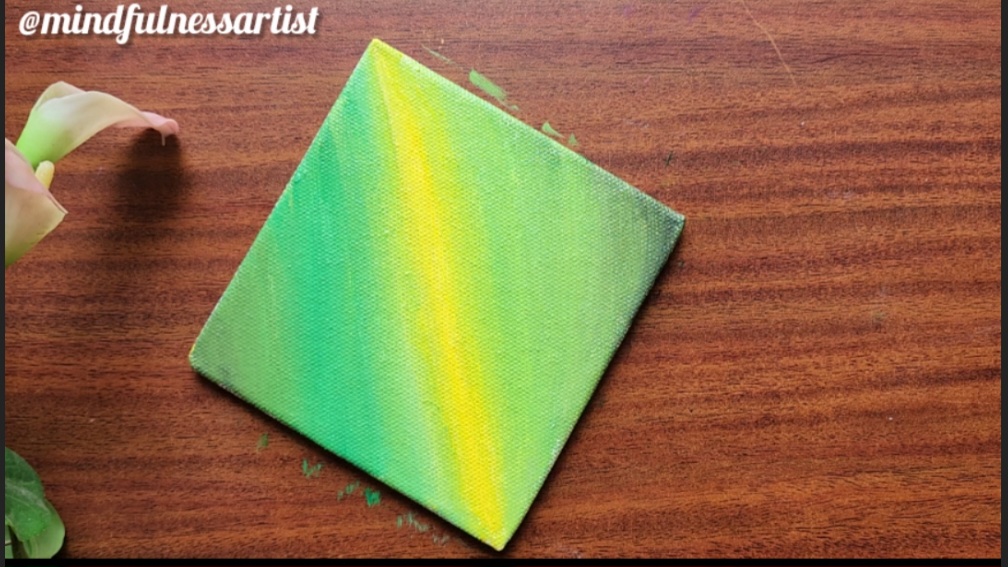
Blending is key to making your colors transition smoothly.
- With your flat brush, use gentle horizontal strokes to blend the colors. Start from the middle and move outward, then switch direction and blend from the corners back to the center.
- For the center where the yellow and green meet, switch to a round brush and a touch of white paint. Gently blend this area to create a soft, glowing effect.
Step 4: Painting the Leaf Veins
Leaf veins add realistic detail and character.
- Using a round brush and Cadmium Yellow, draw soft, curved lines to create the main leaf vein patterns.
- To add dimension, layer over the yellow with Sap Green.
- For even deeper contrast, add a small amount of black to the veins. Remember, perfection isn’t the goal—leaf veins are naturally asymmetrical, so embrace the unevenness!
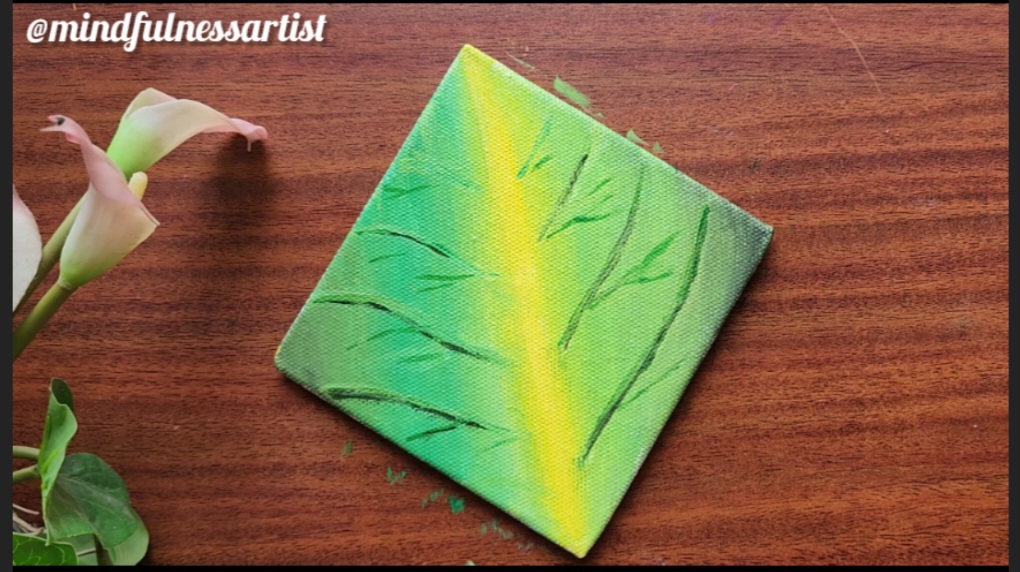
Step 5: Sketching the Water Droplets
Now for the star of the show: the water droplets.
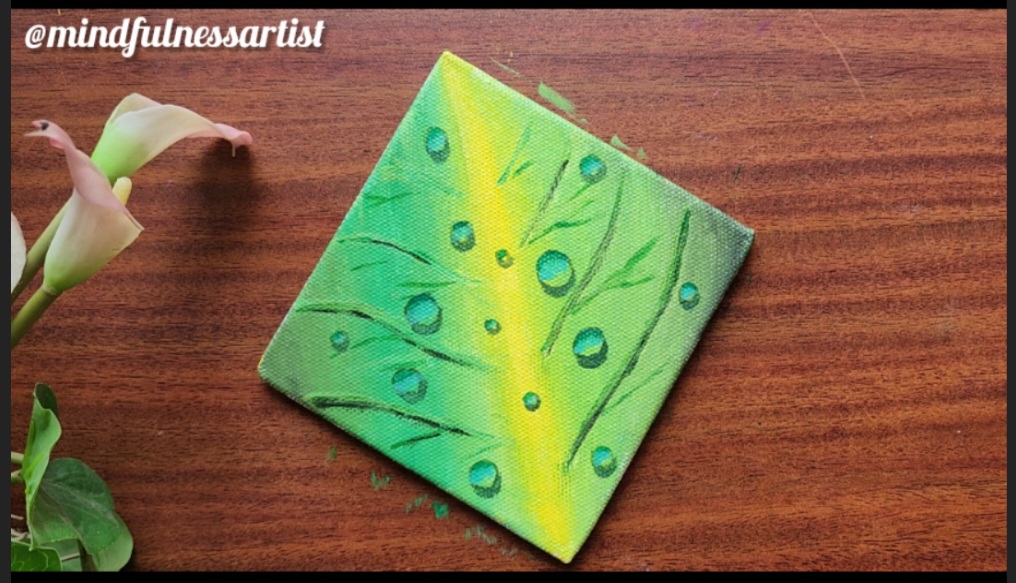
- With Sap Green, lightly sketch rounded shapes where you want the droplets to be. They don’t have to be perfect circles; oval or teardrop shapes often look more natural.
- To “ground” the droplet, paint a soft shadow just below it on the leaf using a tiny amount of Sap Green. Blend this shadow gently to make the droplet appear three-dimensional.
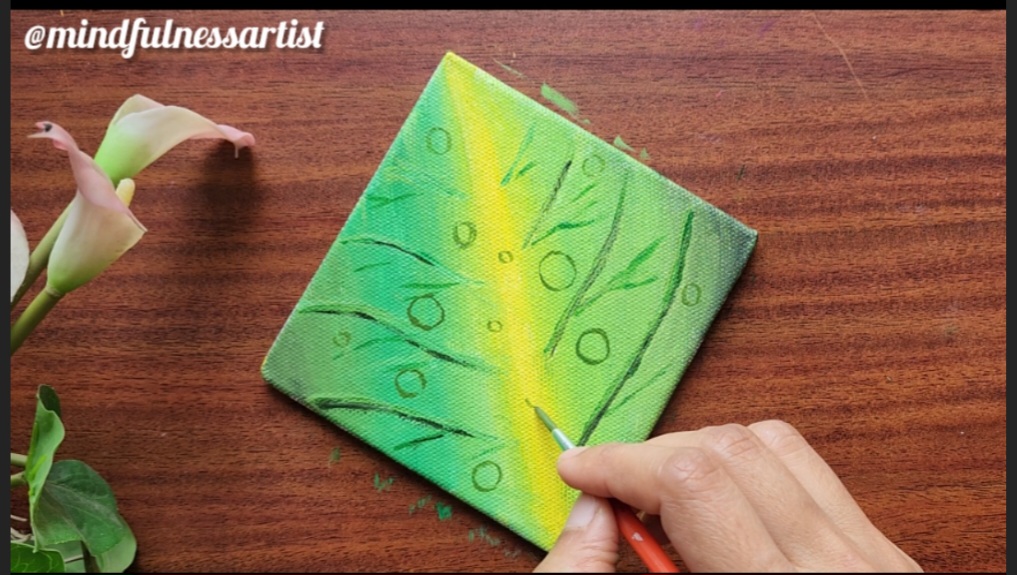
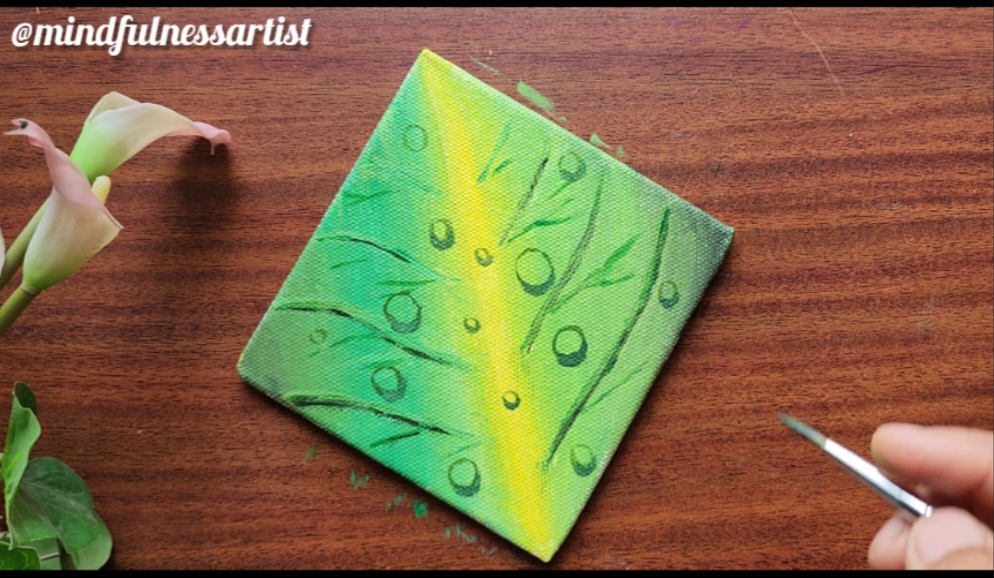
Step 6: Highlighting and Adding Depth
This is where the magic happens! We’ll use lighter colors to make the droplets pop.
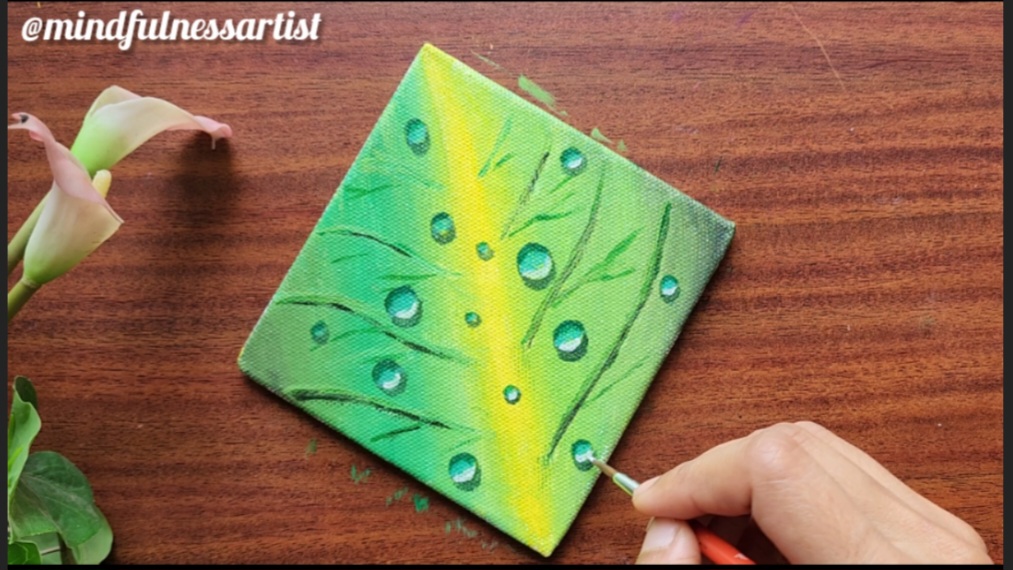
- On the upper part of each droplet, add a layer of Mid Green to show reflected light. Build this up gradually for depth.
- Just below that, apply a mix of Mid Green and white to create a subtle gradient.
- Finally, use pure white to add a strong highlight at the bottom of the droplet, where light would be refracted.
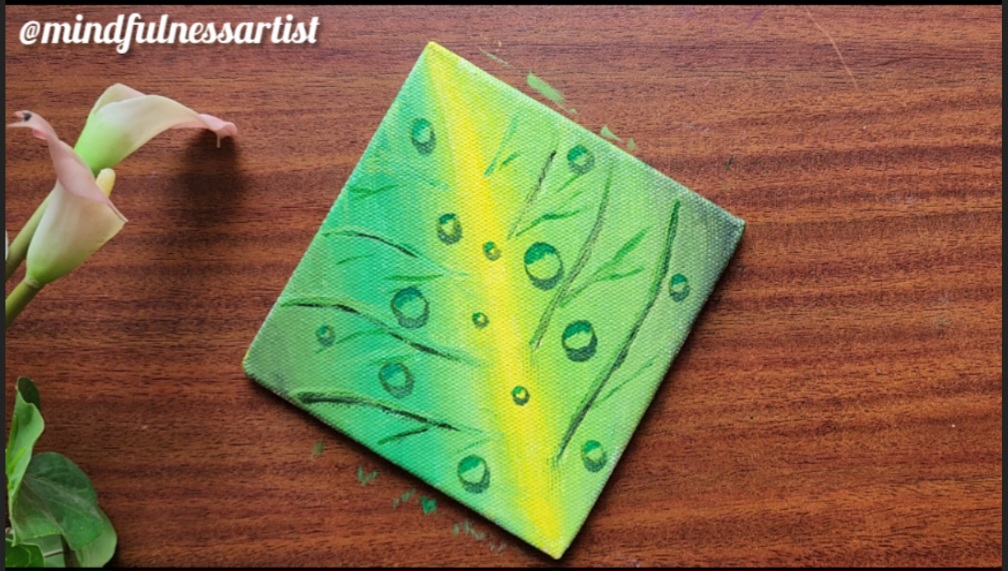
Step 7: Final Touches for Realism
A few final details will make your painting truly shine.
- Using a tiny brush, place small, pure white dots on the upper edge of the droplets to represent glimmers of sunlight. This is a moment to slow down and enjoy the fine details.
- Lastly, take a bit of black paint and add a thin, curved shadow at the bottom of each droplet, where the Sap Green and white meet. This final touch creates a convincing illusion of depth.
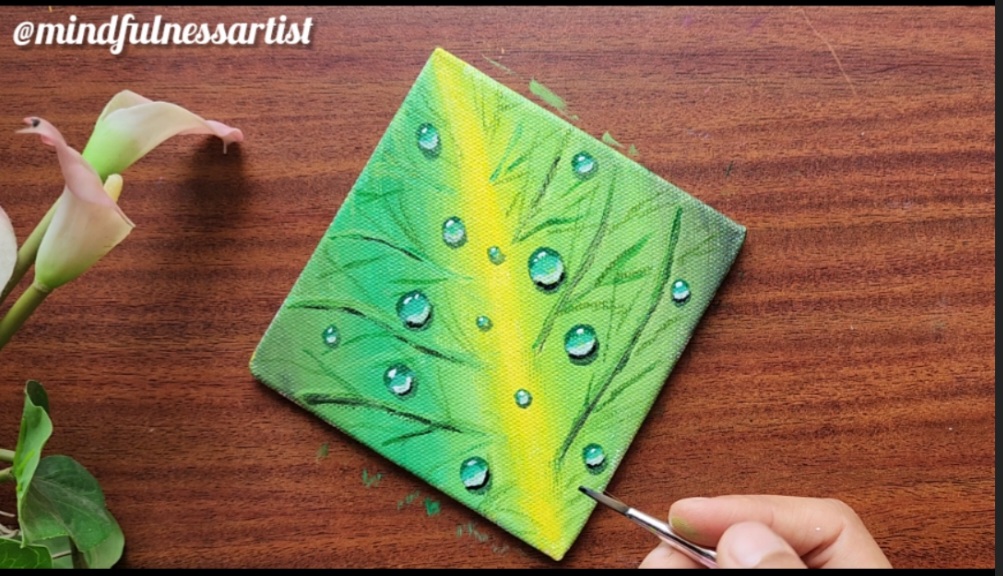

“You’ve just painted a story—of morning light, quiet freshness, and the delicate dance of water and leaf. Let this remind you that beauty is in the details, in the moments, and in your gentle effort. Every brushstroke is a step toward your growth as an artist. I hope you loved every moment of this painting journey. Thank you for painting along!”

