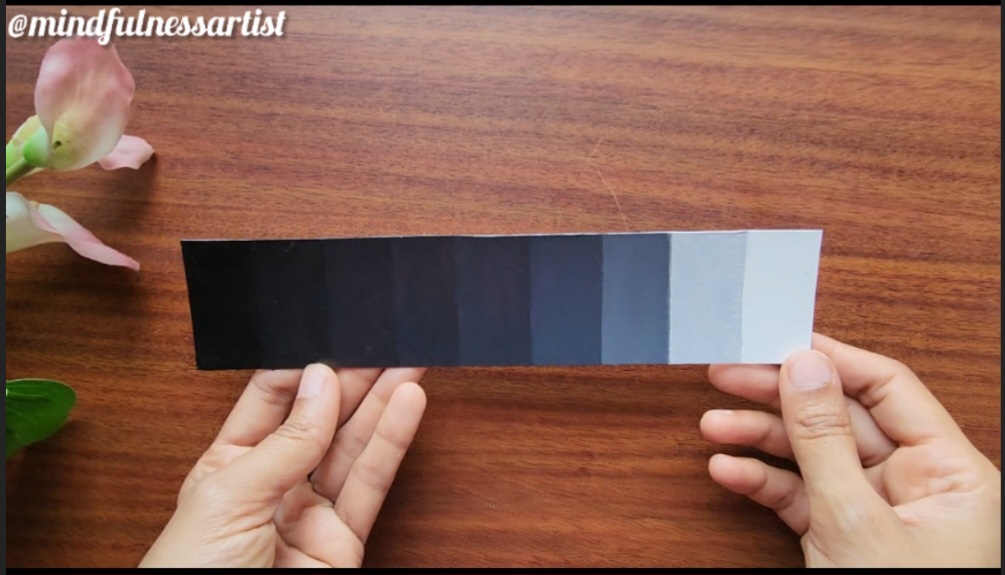
A value scale is a fundamental tool for any artist, whether you’re a beginner or a seasoned pro. It’s a visual representation of the shades of light and dark, ranging from pure white to pure black. Mastering the value scale is crucial because it helps you to see and represent light, midtones, and shadows in your artwork more accurately. This understanding of value is the backbone of creating a sense of form, depth, and three-dimensionality in your drawings and paintings.
Creating your own value scale is a fantastic exercise to train your eye and improve your ability to mix paints. In this blog post, we’ll walk through how to create a black and white value scale using just two colors.
What is a Value Scale?
A value scale is a series of shades that transition smoothly from the lightest value (white) to the darkest value (black). The steps in between are called “midtones” or “grays.” By creating a scale, you are essentially creating a reference chart that you can use to identify the different levels of brightness and darkness in the subjects you are drawing or painting. This helps you to better understand how light hits an object and where shadows fall.
Creating Your Black and White Value Scale
Step 1: Prepare Your Surface
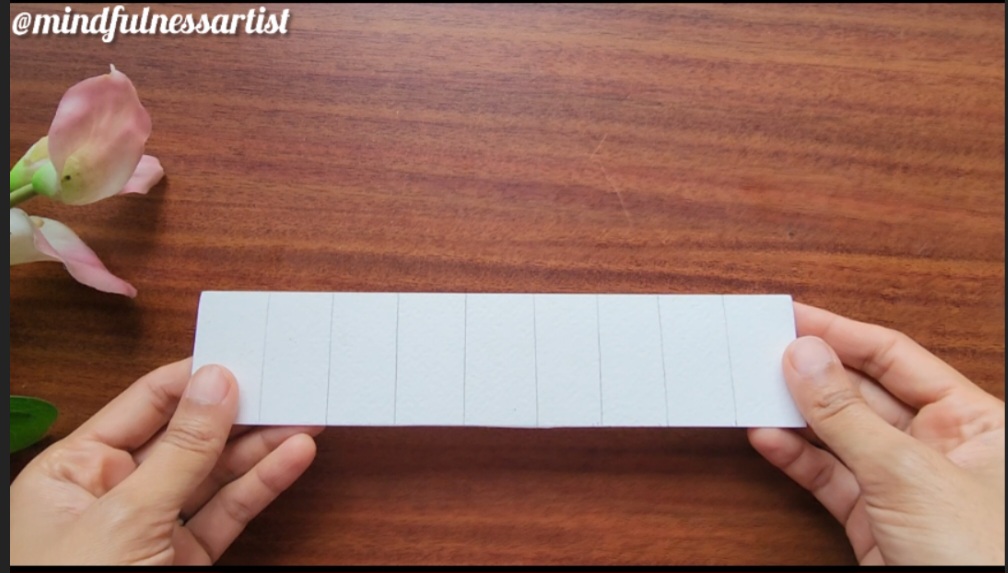
Start with a strip of Acrylic paper or thick paper. Using a ruler and pencil, divide the strip into a series of equal-sized boxes. For this example, we’ll use a scale with nine boxes.
Step 2: Establish Your Extremes
Now, let’s establish the two ends of our value scale: pure white and pure black. In the first box, paint a layer of pure white. This will be your lightest value.
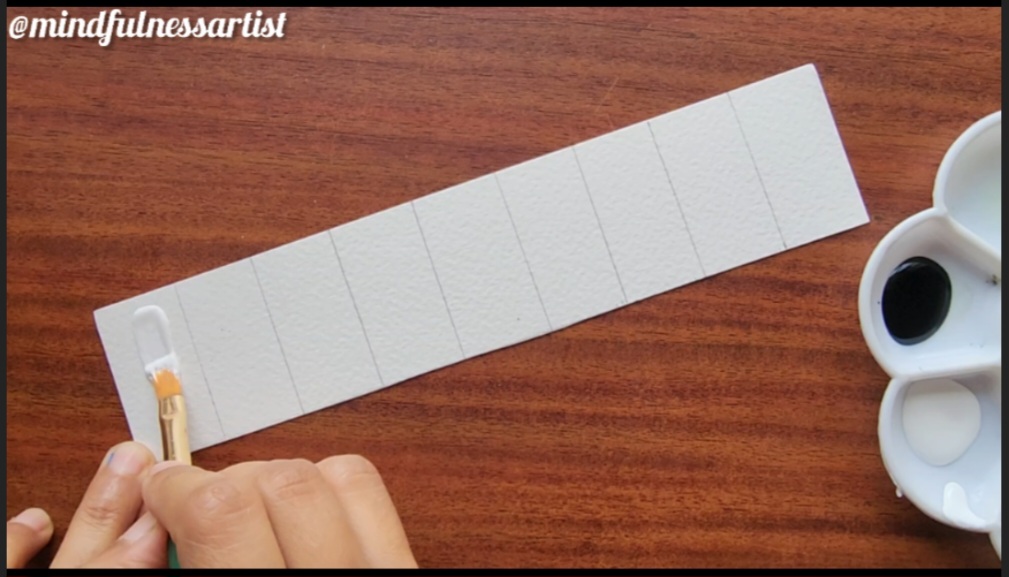
In the last box, paint a layer of pure black. This will be your darkest value.
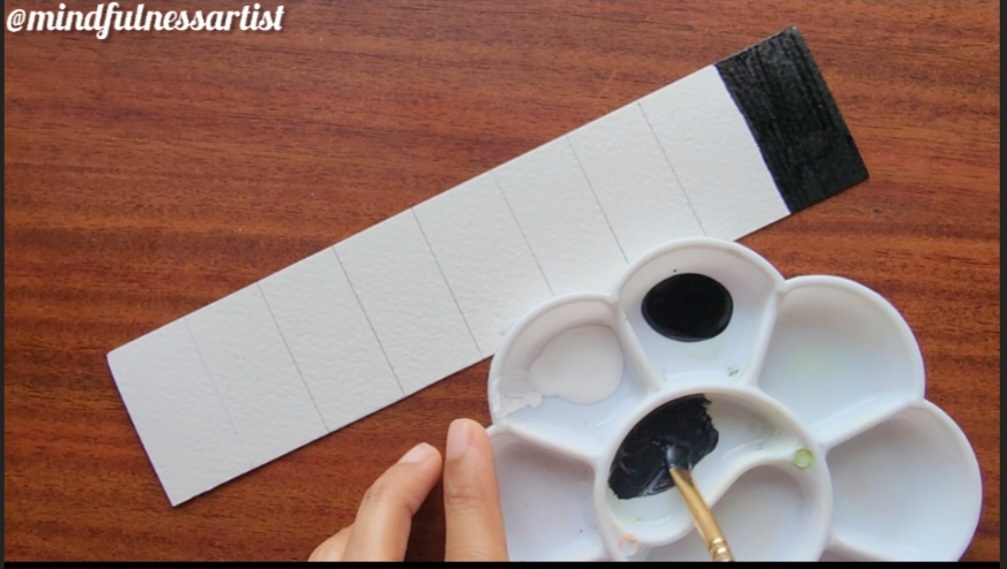
Step 3: Create the Midtone
With the extremes in place, let’s tackle the middle of the scale. We want a nice, even transition between our values. The best way to start is by creating a midtone .Mix equal amounts of black and white paint on your palette.Apply this mixture to the middle box of your scale.
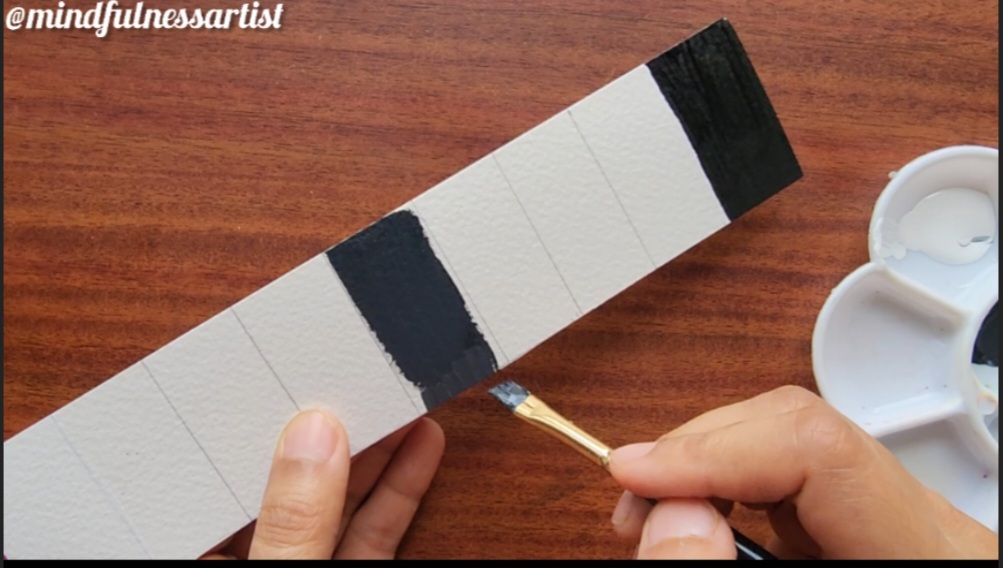
Step 4: Fill in the Lighter Values
Now that we have our three main values (white, black, and a mid-gray), it’s time to fill in the remaining boxes. Let’s work on the lighter side of the scale first. Add a very small amount of your mid-gray mixture to the white to create a very light gray. Paint this into the box next to your pure white.Start with a base of white paint on your palette.
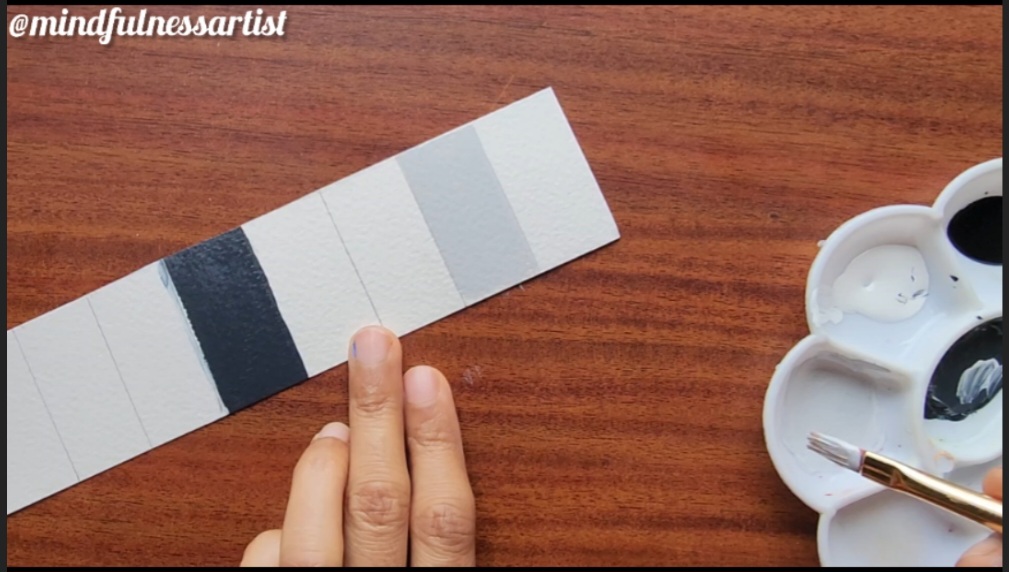
For the next box, add a little more of the mid-gray to your light gray mixture to darken it slightly. The goal is to create a shade that sits between your first gray and your midtone.
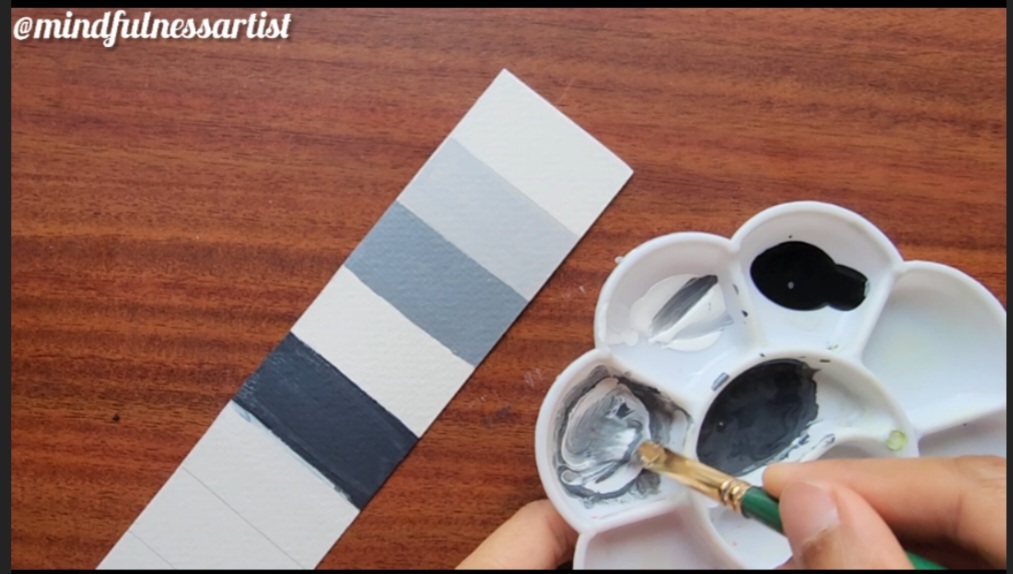
For the next box, add a little more of the mid-gray to your light gray mixture to darken it slightly.
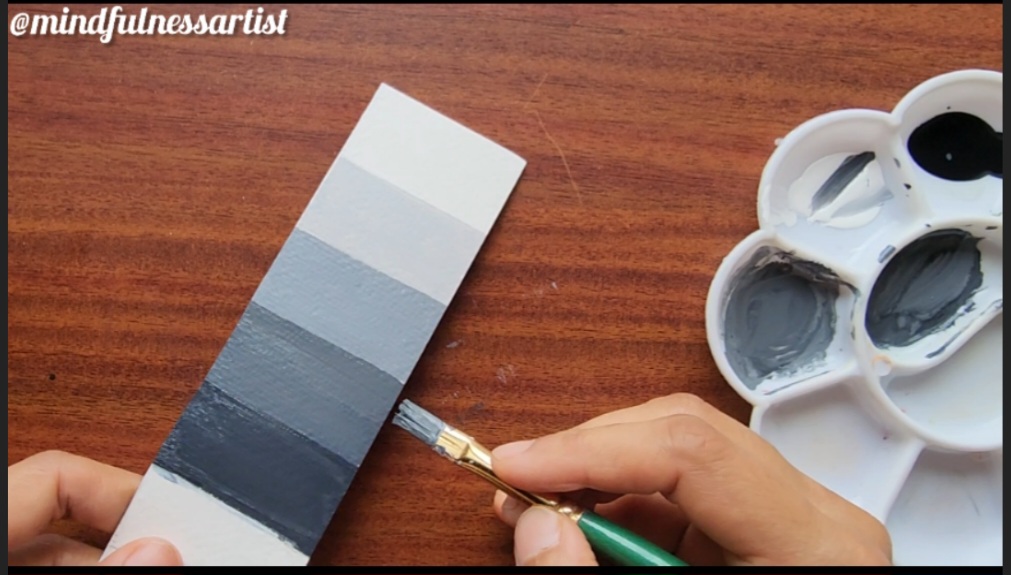
Step 5: Fill in the Darker Values
Next, we’ll work on the darker side of the scale.Continue this process for the remaining boxes, adding a little more black each time to create a series of progressively darker shades. Begin with your mid-gray mixture. Add a touch of pure black to it to create a slightly darker gray. Paint this into the box next to your midtone.
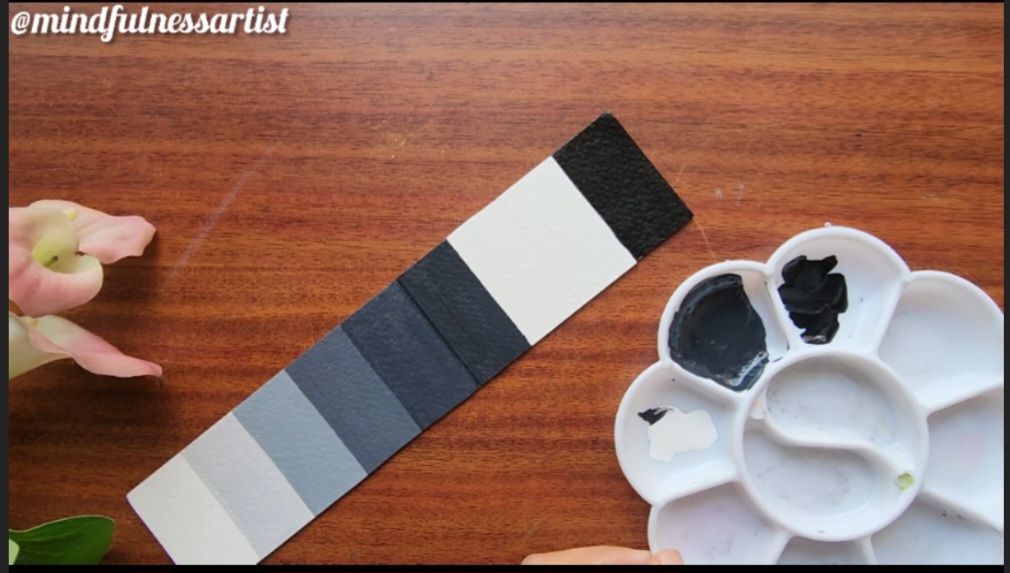
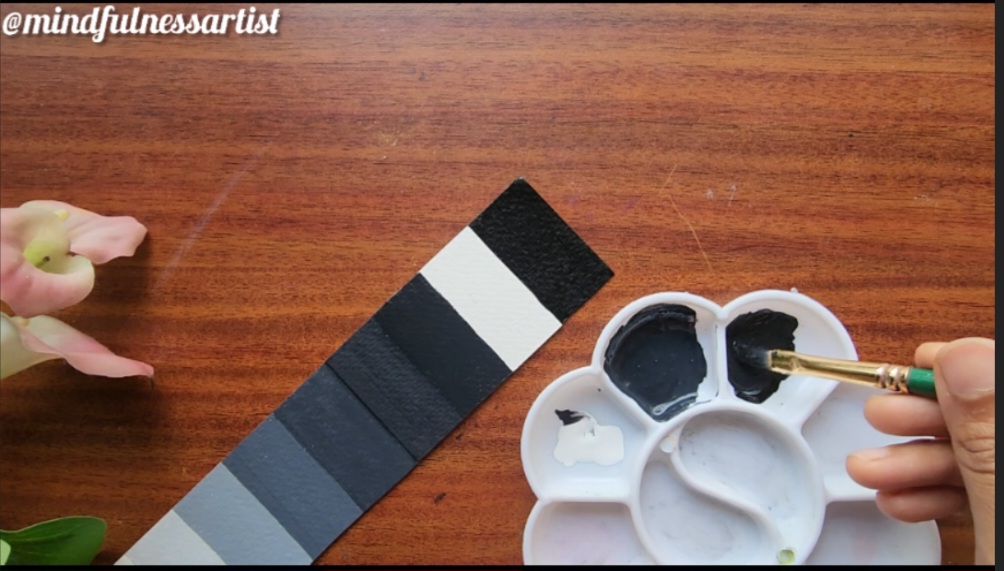
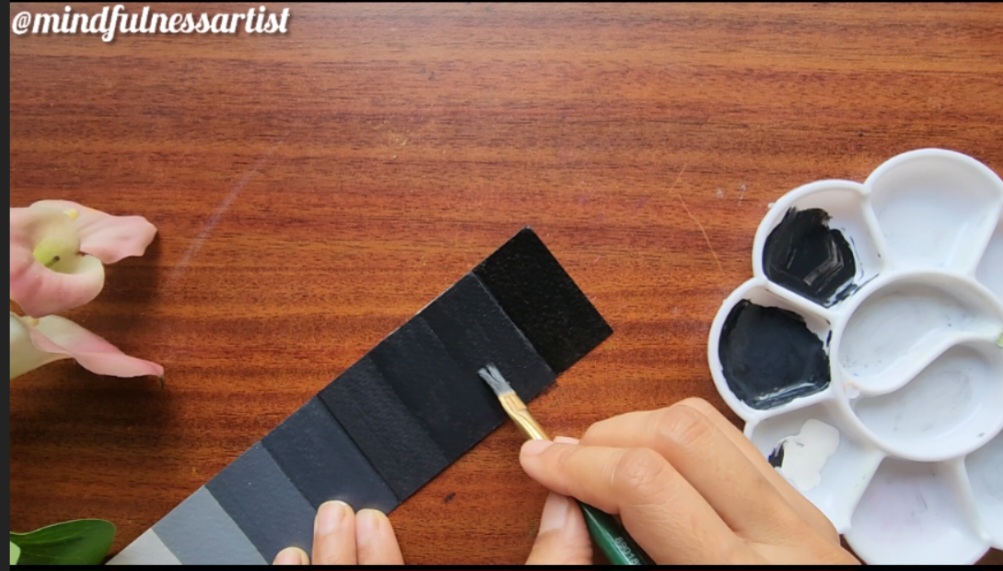
By carefully mixing and layering, you will have created a beautiful gradient that transitions smoothly from light to dark. This homemade value scale is now a valuable reference tool. Keep it handy as you practice your art, and you’ll find it incredibly useful for accurately identifying and applying values in your own work. Happy creating!

